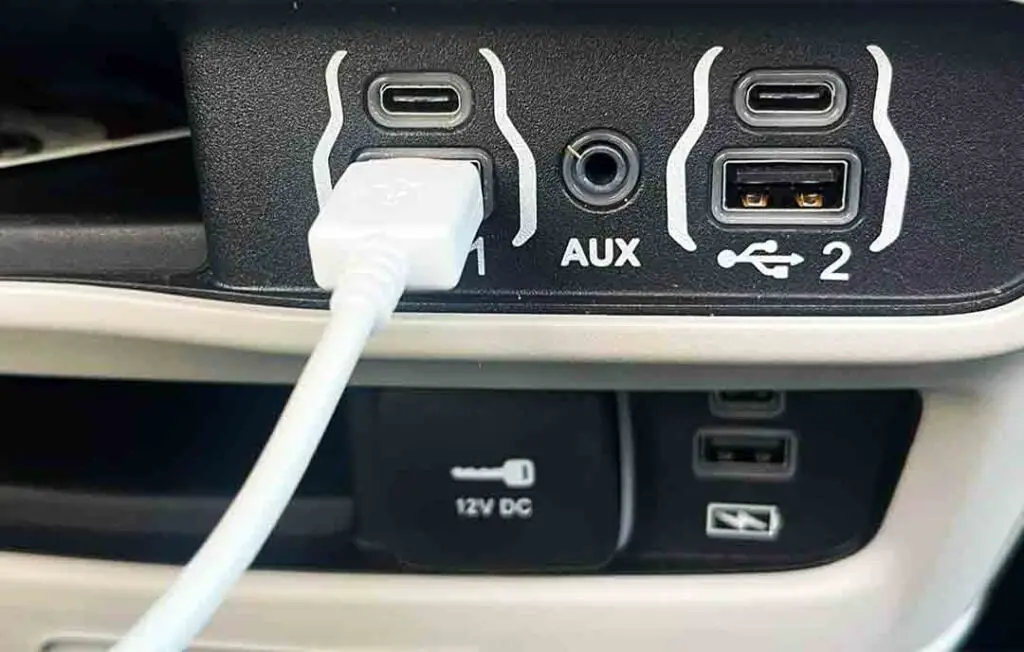
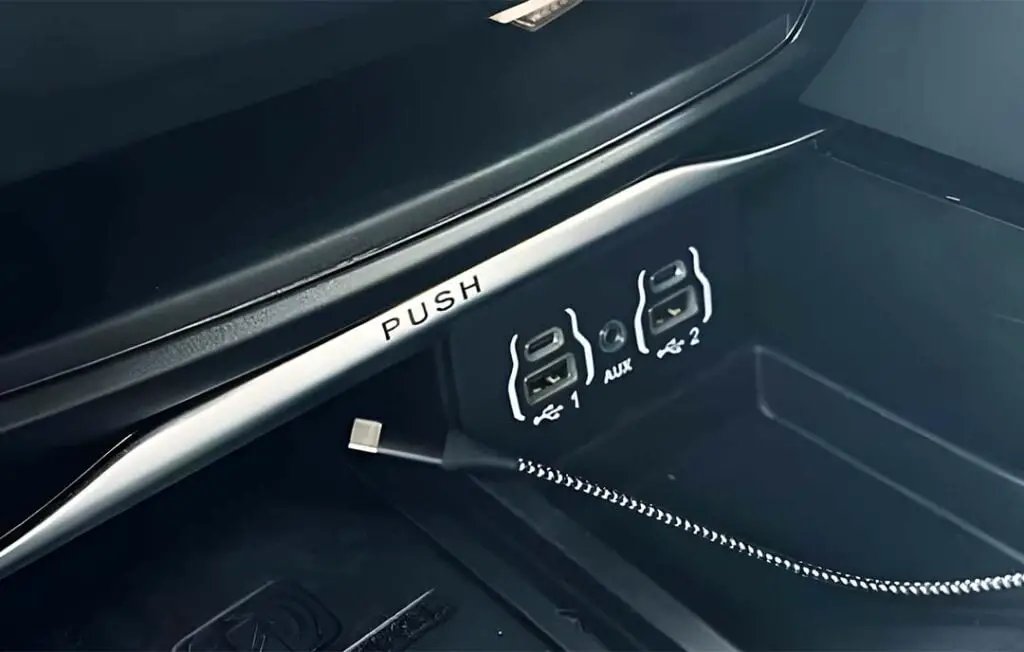
The USB ports are versatile tools for charging devices and seamlessly integrating media into the journey with your Pacifica. A few months ago, I suddenly discovered that my Chrysler Pacifica USB port was not working. After that, I conducted thorough research to find a solution on my own. The good news is that I was ultimately successful in doing so.
The most common causes of this Chrysler Pacifica USB port not working are a faulty electrical connection, a blown fuse, a dirty USB port, a defective cable, or software and hardware problems.

Whether you’re a tech-savvy driver or simply someone who values the convenience of in-car connectivity, this guide will help you quickly overcome the USB port not working challenge.
Contents
Most Common Causes Behind the Chrysler Pacifica USB Port Not Working
- Faulty Wiring: Over time, wear and tear or manufacturing defects can lead to breaks in the wiring, causing intermittent or complete loss of connectivity between the USB port and your car’s system.
- Blown fuse: A blown fuse is a frequent culprit behind non-functional USB ports. Fuses act as protective devices, preventing excessive current from damaging components. If a USB port draws too much power or a short circuit occurs, the fuse protecting it may blow, cutting off power to the port.
- Dirty USB Port: Accumulated dust, debris, or residue can hinder the proper connection between the USB cable and the port. This interference can lead to unreliable charging or data transfer and requires regular cleaning to maintain optimal performance.
- Defective Cable: The USB cable can be the problem’s source. Suppose the cable is damaged, frayed, or incompatible with the USB port’s specifications. In that case, it may fail to establish a reliable connection, resulting in non-functionality.
- Software Issues: Like any digital system, Pacifica’s USB ports rely on software and firmware to function correctly. Glitches, bugs, or outdated software can cause the USB ports to behave unpredictably or stop working altogether.
- Hardware Issues: In some cases, hardware components within the USB port assembly might become damaged or wear out over time. This can include the connectors, circuitry, or other internal parts crucial for proper operation.
How Do You Solve the Chrysler Pacifica USB Port Not Working Issue?
1. Try With Another Fresh USB Cable
A faulty USB cable could be causing the issue. If the cable is damaged, frayed, or incompatible with the USB port, it might not connect properly, and things won’t work. So, check it first with another USB cable. If it works, then it is sure that the USB cable was the main culprit. But if you face this issue with a fresh cable, there may be another problem.

2. Clean Debris From the USB Port
The USB port may get clogged with dust and dirt, preventing proper connectivity. Regular cleaning can help maintain optimal performance.
Gather a can of compressed air or a soft brush. With the vehicle turned off, gently insert the nozzle of the compressed air can or the soft brush into the USB port. Carefully blow or brush away any visible debris.
Examine the USB port to ensure it’s clean. Test its functionality by connecting a device. If the port is clean and the problem persists, consider other solutions.
3. Check Fuse 77 and Ensure the Power Source
Your Pacifica’s USB ports rely on a shared power source, and fuse 77 (10 AMP) in the underhood fuse panel provides this power. If this fuse is blown, it can lead to non-functional USB ports.
To troubleshoot, find the underhood fuse panel in your Chrysler Pacifica. Then, using a multimeter, test the Fuse 77 to determine if it’s blown. Check for key-on power both in and out of the fuse.
If you find any issue with the fuse, replace it with a new one. Finally, test the USB ports to ensure they receive power after replacing the fuse.
4. Reset the System Using Fuse 28 and Fuse 76
Sometimes software bugs can interfere with the USB ports’ ability to function correctly. To fix the issue, you can perform a system reset using Fuse 28 (USB-IP, Instrument Panel) and Fuse 76.
In that case, identify the locations of Fuse 28 and Fuse 76. The fuse box diagram in your vehicle’s manual can help you find them.
After that, remove the indicated fuse 28 and fuse 76 from the box, wait a few minutes, and then pull them in again. This action resets the UConnect system and USB ports.
After resetting the system, check if the USB ports have regained functionality—test by connecting a device to see if it charges or establishes a connection.
This technique worked for me in fixing the problem with my Chrysler Pacifica’s USB port not working.
5. Perform UConnect Soft Reset
In my research, I also found that a soft reset can resolve minor software issues with the Uconnect system in a Chrysler Pacifica. Follow these steps to perform the reset.
- Start by turning on the Chrysler Pacifica’s ignition and make sure the key fob is in your car.
- Now, press and hold the “Volume Down” and “Tune/Scroll” knobs or buttons for approximately 10 to 15 seconds.
- While you are firmly holding down the buttons, the Uconnect screen should fade to black, indicating the commencement of the system restart process. Maintain your hold on the buttons until the screen displays the Chrysler logo, signifying the system’s restart progress.
- Upon witnessing the reappearance of the Chrysler logo, you can release the buttons. At this point, the system will finalize the reset sequence and initiate the standard startup process. Check whether the USB port works once the Uconnect system has rebooted and is fully operational.
6. Replace Faulty USB Port
I always recommend contacting an automotive professional or dealership to diagnose if the USB port is physically damaged or malfunctioning. They will determine if the USB port assembly needs replacement.
If the USB port is faulty, a trained technician can replace the port assembly with a new one. This ensures a proper and functional installation.
However, I’m sharing the necessary guidelines if you have the technical know-how and confidence to DIY USB port replacement.
You will require a replacement USB port assembly compatible with your Pacifica’s specific model and year. Also, you’ll need a set of screwdrivers (both Phillips and flathead), trim removal tools (plastic pry tools), a multimeter for testing, and a soldering iron with solder if needed for wiring connections.
Now follow the steps below:
- Start by parking your Chrysler Pacifica on a level surface and using the brake. For safety purposes, I recommend disconnecting the negative terminal of your Chrysler battery.
- Using plastic pry tools, gently remove the trim panels surrounding the USB port area. Carefully work from the edges to release and remove the panels, allowing access to the USB port assembly.
- Take your time to carefully disconnect any wiring or connectors attached to the existing USB port. Utilize a screwdriver to remove any screws securing the USB port assembly in place. Once these elements are detached, gently extract the old USB port assembly from its housing.
- Before installing the new USB port, use a multimeter to test the wires and connectors for proper voltage and continuity. This step ensures any potential wiring issues are addressed before the replacement.
- Now, align the new USB port assembly with the housing and securely fasten it using the appropriate screws. The wiring or connectors you disconnected before reconnecting them and ensuring proper connection. If soldering is necessary for wiring connections, follow proper techniques and use appropriate insulation.
- Carefully align and snap the trim panels back into their original positions around the USB port area. Ensure each panel is securely attached and aligned with the vehicle’s interior.
- Reconnect the negative battery connection of the Chrysler and turn the engine back on. Test the functionality of the new USB port using a compatible device, ensuring that both charging and data transfer capabilities are operational.
- If the newly installed USB port is functioning as expected, proceed to reattach any remaining trim panels. Take a moment to inspect all connections and confirm that everything is securely fastened.
Also Read: Uconnect Theater Not Working? Learn 6 Easy Hacks To Fix It
Final Thoughts
In modern vehicles, where convenience and technology seamlessly intertwine, the Chrysler Pacifica’s USB ports have emerged as vital conduits for connectivity and entertainment. Yet, as with any complex system, challenges can arise, and the Chrysler Pacifica USB port not working issue is a prime example.
As you’ve learned, a faulty wiring harness, blown fuse, dirty port, defective cable, software glitches, and hardware issues can all contribute to the problem.
Try the solutions mentioned above for troubleshooting; if the problem still exists, I recommend consulting with the Chrysler dealership or authorized mechanic, especially if you have a warranty. However, armed with this understanding, I hope you’re well-equipped to take action now!
