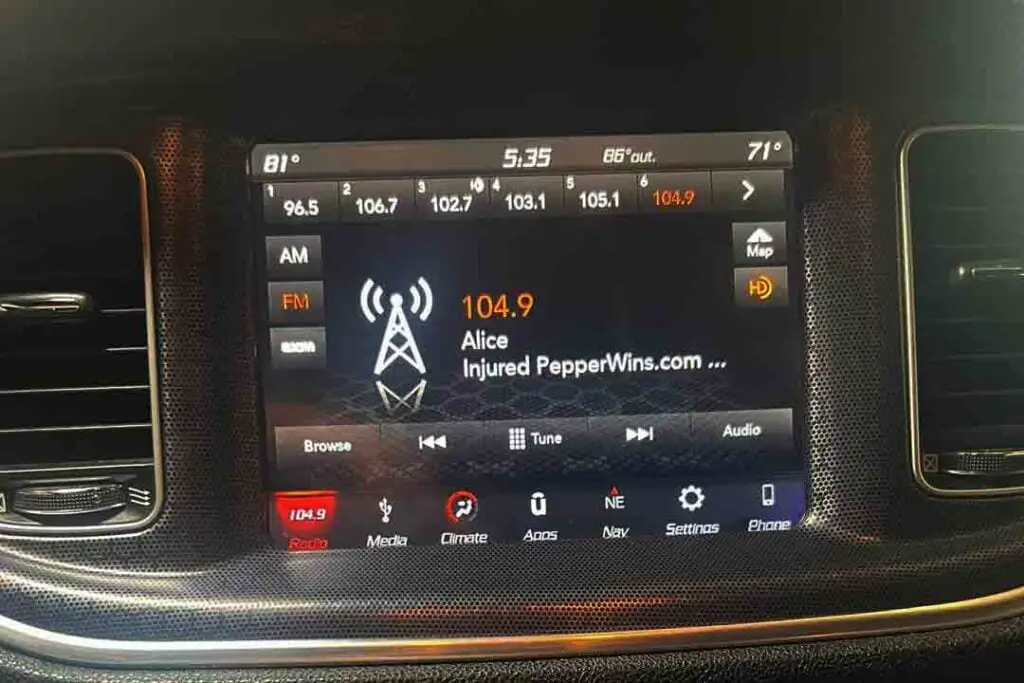
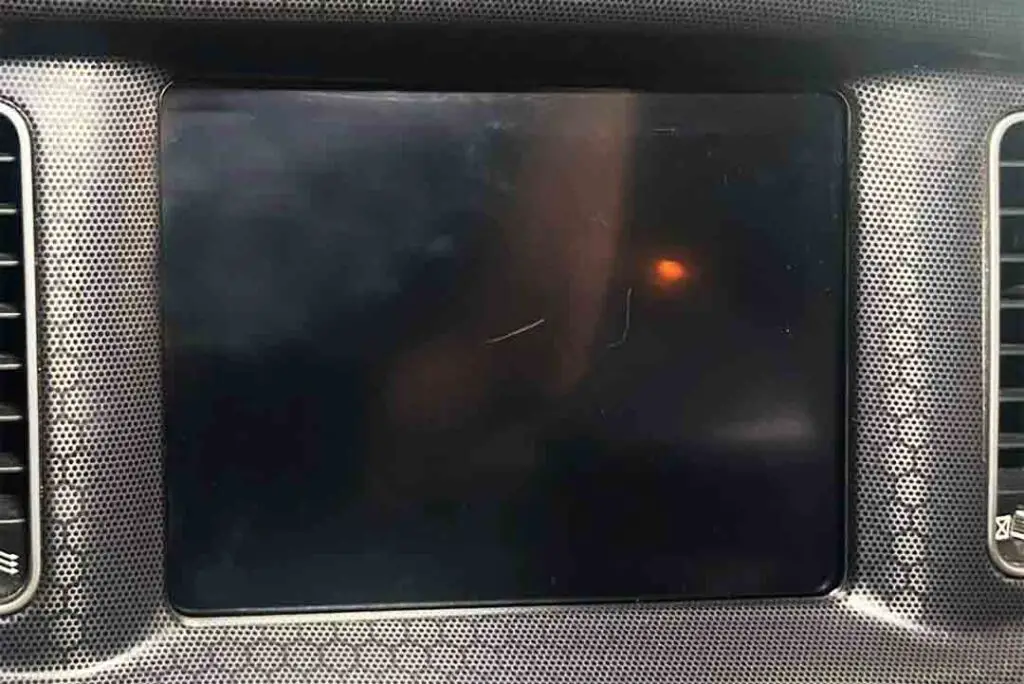
The Dodge Charger, a legendary symbol of American muscle, is renowned for its formidable performance capabilities and cutting-edge features. However, some owners have encountered a frustrating problem with their Dodge Charger touch screen going crazy. Instead of seamless control, these touch screens exhibit erratic behavior, including unresponsiveness, glitches, freezes, and ghost touches. The common reasons behind this issue are software bugs, Electrical Problems, and physical damage.

In this article, I’ll explore the causes of these issues and provide troubleshooting steps and preventive measures to help Charger owners overcome these challenges.
Contents
Signs and Symptoms of a Malfunctioning Touch Screen
Identifying signs and symptoms of a malfunctioning touch screen in your Dodge Charger is crucial for troubleshooting and finding solutions. Unresponsiveness, glitches, and freezes are the primary symptoms to look out for. These can disrupt your ability to control the vehicle’s functions effectively. Let’s dive into the details and understand these signs better.
Unresponsive Touch
One of the most common signs of a malfunctioning touch screen in a Dodge Charger is unresponsiveness. When attempting to interact with the touch screen, such as tapping icons or swiping, the system may need to register the input or respond inconsistently. This can be a frustrating experience, as it hinders the ability to access essential functions and control various aspects of the vehicle.
Glitches and Freezes
Another indication of a problematic touchscreen is the occurrence of glitches and freezes. The touch screen may display unexpected graphical anomalies, such as flickering or distorted images. Additionally, the system might freeze or experience a significant lag in response time, resulting in delayed or unfulfilled commands. These glitches and freezes disrupt the user experience and make navigating the touchscreen interface frustrating and cumbersome.
Ghost Touches
Ghost touches are unusual when the touch screen registers inputs without any physical interaction. In this scenario, the screen may have a mind, responding to non-existent touches or randomly executing commands. Ghost touches can lead to unintended actions, erratic behavior, and even potential safety concerns while driving, emphasizing the urgency of addressing the touch screen malfunction.
Possible Causes of the Dodge Charger Touch Screen Issues
Several types of causes may lead to the Dodge Charger touch screen going crazy issue. The most common reasons include bugs in software and updates, electrical problems, and physical damage. Let’s get into the specifics to better comprehend these issues.
Software Bugs and Updates
One potential cause of touchscreen issues in the Dodge Charger is related to software bugs or outdated software versions. Over time, certain software glitches or coding errors may arise, leading to malfunctions in the touchscreen interface. Additionally, if the vehicle’s software has not been updated to the latest version, compatibility issues or unresolved bugs can contribute to the touch screen going crazy.
Electrical Problems
Electrical issues can also play a role in touchscreen malfunctions. Loose connections, damaged wiring, or faulty components within the touch screen system can disrupt the flow of electrical signals and lead to erratic behavior. Fluctuations in power supply or grounding problems may further exacerbate the issue, causing the touch screen to misbehave.
Physical Damage
Another potential cause of touchscreen issues is physical damage. Accidental impacts, delamination, exposure to moisture or liquids, extreme temperatures, or improper handling can harm the touch screen or its underlying components. Such damage can disrupt the touch screen’s functionality and result in abnormal behavior.
Solutions for Dodge Charger Touch Screen Going Crazy
Dealing with a crazy Dodge Charger touch screen is frustrating, but don’t worry! Here are three effective methods to troubleshoot and fix the issue: Let’s get into it.
1. Restart and Reset
A simple restart or reset often helps resolve minor software issues causing touchscreen malfunctions. Hold down the power button until the screen turns off to perform a soft restart, then release and press the power button again to restart the system. If the issue persists, a factory reset can be attempted. Still, backing up any critical data beforehand is crucial, as this process will erase all personal settings and data.
2. Software Updates
Keeping the vehicle’s software up to date is essential for optimal touchscreen performance. Check for software updates related to the touchscreen system and follow the manufacturer’s instructions to install them. Software updates often include bug fixes, enhancements, and improved compatibility, which can address touchscreen issues.
3. Professional Assistance
If the touch screen issues persist or are beyond DIY troubleshooting, it is advisable to seek professional assistance. Certified Dodge dealerships or authorized service centers have the expertise and diagnostic tools to identify and resolve complex touchscreen problems. Contacting customer support for guidance and scheduling an appointment with an authorized service provider can help ensure a thorough assessment and appropriate resolution.
It is important to note that attempting DIY repairs beyond basic troubleshooting may void warranties or potentially cause further damage. Therefore, consulting with professionals when dealing with persistent touch screen issues in the Dodge Charger is recommended.

DIY Dodge Charger Touchscreen Replacement Process
Replacing a faulty Dodge Charger touchscreen can be a complex task. If you understand automotive electronics well and feel confident in your abilities, you may attempt a DIY replacement. Here are some steps to guide you:
- Gather the necessary tools: Before starting the replacement process, ensure you have the required tools, including a set of screwdrivers (flathead and Phillips), trim removal tools (plastic pry tools or trim panel removal tools), electrical connectors (if needed for the specific replacement), a multimeter for testing, and a clean, soft cloth for handling the new touch screen.
- Disconnect the battery: Begin by disconnecting the negative terminal of the vehicle’s battery to prevent any electrical mishaps during the replacement. Use a wrench or socket appropriate for your battery’s terminal to loosen and remove the negative cable.
- Remove the trim and bezel: Carefully remove the surrounding trim and bezel that hold the touch screen in place. Start by locating any screws or fasteners securing the trim and use the appropriate screwdriver to remove them. Next, use the trim removal tools to gently pry the trim and bezel away from the dashboard. Take your time to avoid damaging the interior panels or trim pieces.
- Disconnect the electrical connectors: Locate the connectors connecting the touch screen to the vehicle’s wiring harness. These connectors are usually secured with a locking tab. Use your fingers or a small flathead screwdriver to release the locking tabs carefully. Once released, gently pull the connectors apart to disconnect them from the touch screen.
- Remove the old touch screen: With the trim and electrical connectors disconnected, carefully remove the old touch screen from its mounting location. Pay attention to any mounting screws or brackets that may be holding the touch screen in place. Use the appropriate screwdriver to remove any screws, and if necessary, release any brackets or clips securing the touch screen.
- Install the new touch screen: Take the new touch screen and position it in the mounting location. Ensure that it is appropriately aligned with the surrounding trim and bezel. If there are any mounting screws or brackets, secure them to hold the new touch screen in place.
- Reconnect the electrical connectors: Take the electrical connectors from the vehicle’s wiring harness and connect them to the corresponding ports on the new touch screen. Ensure a firm connection and listen for a clicking sound, indicating that the connectors are securely locked.
- Test the new touch screen: Before proceeding further, reconnect the battery’s negative terminal to restore power. With the battery reconnected, test the functionality of the new touch screen. Check that it responds appropriately to touch inputs, displays the correct information, and operates as expected. If necessary, you can use a multimeter to test for proper voltage and continuity.
- Reassemble the trim and bezel: Once you have confirmed that the new touchscreen is functioning correctly, reassemble the trim and bezel in the reverse removal order. Start by aligning the trim and bezel with the dashboard and gently press them into place. Ensure that all clips, screws, and fasteners are correctly secured.
- Reconnect the battery: Reconnect the negative terminal, ensuring a tight and secure connection. Double-check that all components are correctly installed and connected before starting the vehicle.
Preventive Measures and Maintenance Tips
As with any tech device, proper care ensures peak performance and durability. In this section, discover preventive tips for Charger touch screens, minimizing issues, and optimizing driving pleasure. Let’s dive in.
Regular Cleaning
Maintaining a clean touchscreen prevents sensitivity issues and ensures optimal performance. Use a soft, lint-free microfiber cloth to gently wipe the touch screen surface, removing fingerprints, dust, and smudges. It is advisable to refrain from utilizing harsh chemicals or abrasive substances that may cause scratches or harm the screen. Regular cleaning helps maintain clear visibility and responsive touch sensitivity.
Protective Accessories
Consider using screen protectors or covers explicitly designed for touch screens. These accessories provide additional protection against scratches, minor impacts, and accidental spills. They can help safeguard the touch screen from potential damage, prolonging its lifespan and preserving its functionality.
Responsible Handling
Handle the touch screen with care to prevent physical damage. Avoid applying excessive pressure when interacting with the screen, leading to cracks or unresponsive areas. Refrain from using sharp objects or pointed instruments that can scratch or puncture the screen. Owners can minimize the risk of accidental damage by treating the touch screen with caution and mindfulness.
Read More: Dodge Charger 3.5 Performance Upgrades for Enhanced Driving Thrills
Final Words
Dealing with a Dodge Charger touchscreen going crazy can be frustrating, but it’s not an insurmountable problem. By understanding the causes behind these touchscreen malfunctions and taking proactive measures, you can regain control over your driving experience.
From troubleshooting steps like soft restarts and software updates to preventive measures such as regular cleaning and responsible handling, there are ways to address the issue and prevent future occurrences. Remember to seek professional assistance when needed and maintain open communication with the dealership to improve the overall touchscreen experience in the Dodge Charger.
